As promised, I am posting a tutorial of a little purse I made last week. It is so gratifying to work on the fabric and being able to look with satisfaction at your finished product, this is why I love sewing so much! I will try to explain as clearly as possible, but if you have any question, please ask, I will be more than happy to help ypu!
For this little purse I did not use interfacing as the fabrics I used are quite thick.
The measurements are approximate, you can modify them to make a smaller or bigger purse.
My finished purse is approximately 6 1/2 " long and 3 1/2" high
You will need:
two lining pieces (in this case the purple ones) measuring 7"x 10"
two exterior pieces measuring 7" x 10"
one zipper, it should be a couple of inches longer than your fabric.
1) Cut the fabrics
2) Zipper:
This is a crucial and often problematic step, but if you practice a lot, it will became almost authomatic.
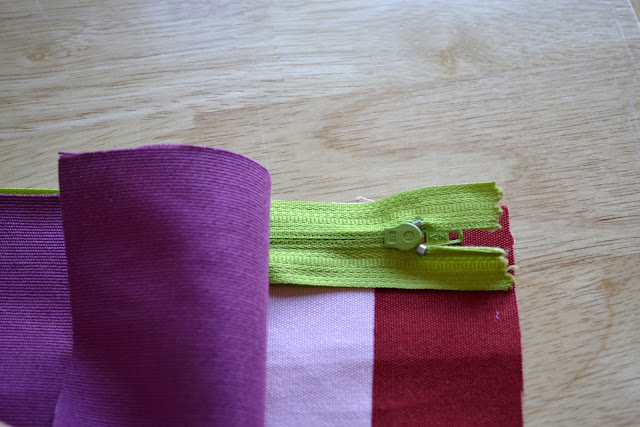
Put the zipper, FACED DOWN between the lining (top) and exterior fabric(bottom), this should be placed FACED UP, as shown in the picture.
You can help yourself with some pins. APparently, using a zipper foot helps a lot...I still don't have one, but is in my To-Buy list.
So, sew along the zipper.
Do the same for the other side of the zipper, putting it FACING DOWN, between the lining fabric (top) and the exterior fabric (bottom) FACING UP.
4) Sew the bottom line
At this point, when the two lining fabrics are on the outside, sew the bottom side.
5) The sides
Now, with the zipper half open, sew along the sides.
6) The corners
Sew the corners, I sewed more or less 3", but it depends on how much "squared" you want it to be at the bottom.
7) Turn it!
Et voilà!!
Enjoy your new handmade little purse!!
xx


No comments:
Post a Comment